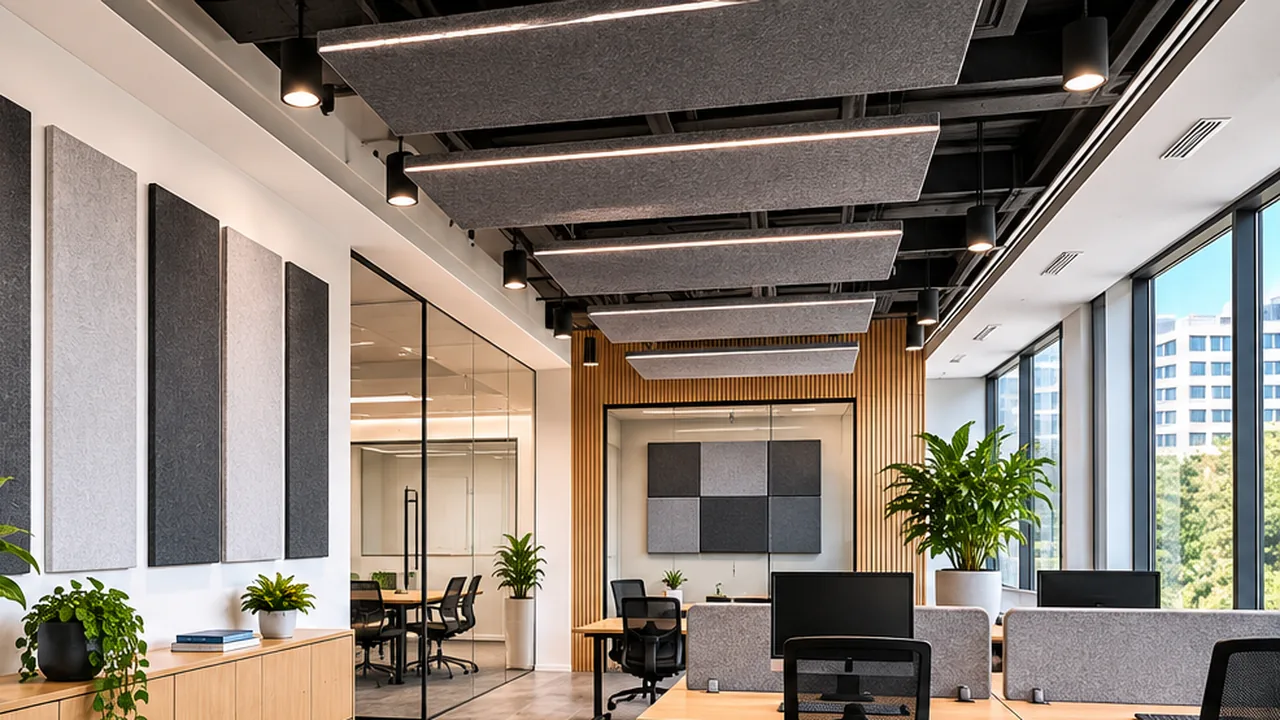
There is no single acoustic panel quantity that suits every room. The number required depends on the room’s dimensions, ceiling height, hard surfaces, activity level, panel size, acoustic performance and where the panels will be installed.
For an initial estimate, calculate the surface area you intend to treat and divide it by the face area of the selected panel. This produces a preliminary quantity, but placement and panel performance remain as important as the final count.
A small meeting room may require only targeted wall treatment, while a classroom, open-plan office or hospitality venue may need a coordinated mix of wall panels, ceiling treatments and acoustic screens.
1. Confirm That Acoustic Panels Address the Actual Problem
Before calculating quantities, identify the type of noise problem occurring in the room.
Acoustic panels are designed primarily to absorb sound reflections within an enclosed space. They can help manage:
• Echo
• Reverberation
• Poor speech clarity
• Noise build-up from multiple conversations
• Reflections from glass, concrete and plasterboard
• Harsh sound in meeting rooms and classrooms
• General acoustic discomfort in shared spaces
They are not designed to completely prevent sound from entering or leaving a room.
Problems involving traffic noise, conversations travelling through walls, machinery vibration or sound passing between floors may require building modifications, sealing, insulation or another specialist solution.
A simple test is to listen for a lingering ring after clapping once in the room. If speech sounds blurred and noise appears to remain after its source stops, the room may have excessive reverberation.
The full range of acoustic panels includes wall, ceiling, decorative and screening options for offices, schools and commercial interiors.
2. Record the Room Dimensions
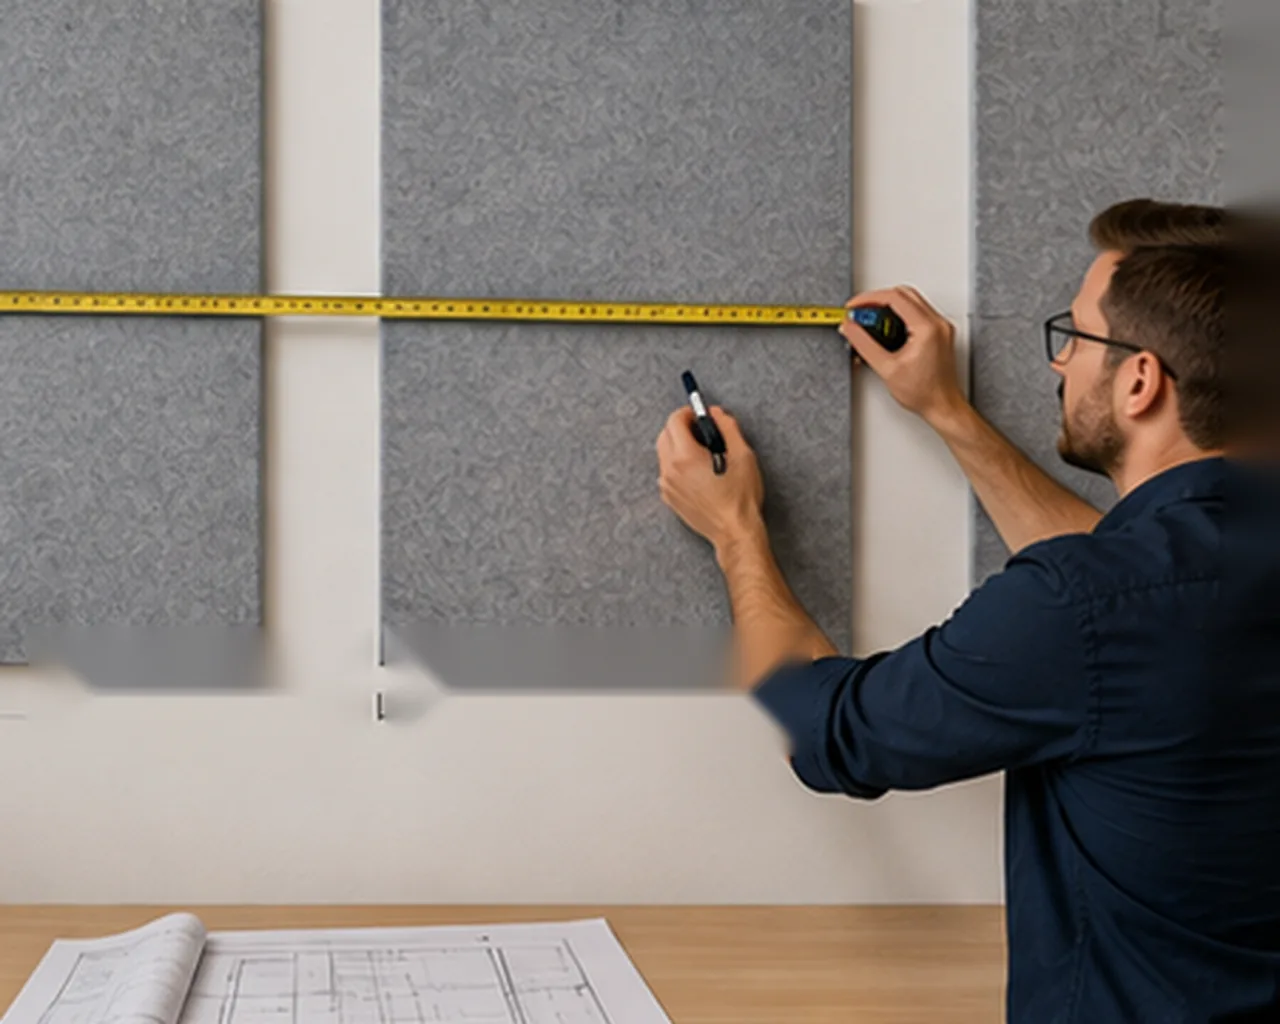
Measure the room before comparing panel quantities.
Record:
• Room length
• Room width
• Ceiling height
• Total wall dimensions
• Ceiling area
• Window and glazed partition area
• Doors and built-in joinery
• Existing soft furnishings
• Available installation surfaces
• Furniture layout
• Normal occupancy
The room’s volume matters because sound behaves differently in a compact meeting room and a large open space with a high ceiling.
Calculate room volume using:
Length × width × ceiling height
For example, a room measuring 6 metres long, 4 metres wide and 2.7 metres high has a volume of 64.8 cubic metres.
This figure does not directly provide a panel count, but it helps compare rooms and understand the scale of the treatment required.
Also measure the usable wall and ceiling areas. Do not include windows, doors or surfaces where panels cannot be installed unless the chosen system can safely span those areas.
3. Assess the Existing Hard and Soft Surfaces
Rooms containing many hard surfaces generally produce stronger sound reflections than rooms with carpet, curtains and upholstered furniture.
Highly reflective surfaces can include:
• Glass walls
• Concrete floors
• Painted plasterboard
• Masonry
• Metal ceilings
• Hard tabletops
• Whiteboards
• Large windows
• Timber without acoustic backing
Existing absorptive materials may include:
• Carpet
• Curtains
• Upholstered seating
• Fabric screens
• Acoustic ceiling tiles
• Soft furnishings
• Existing acoustic panels
Two rooms with identical dimensions may therefore require different treatment quantities.
A carpeted meeting room with upholstered chairs and curtains may need less additional absorption than a similar room containing glass walls, polished concrete and a hard ceiling.
Walk around the room and identify the largest uninterrupted reflective surfaces. These are often the strongest candidates for treatment.
4. Calculate the Area Covered by Each Panel
Once a panel format has been shortlisted, calculate its face area.
Use:
Panel width × panel height = panel area
For example:
• A 1200 × 600 mm panel covers 0.72 square metres
• A 1200 × 1200 mm panel covers 1.44 square metres
• A 2400 × 1200 mm panel covers 2.88 square metres
• A 500 × 500 mm tile covers 0.25 square metres
Ensure every measurement is converted to metres before calculating square metres.
If a proposed treatment requires 12 square metres of panel coverage and each panel covers 0.72 square metres:
12 ÷ 0.72 = 16.67
The preliminary quantity would therefore be rounded up to 17 panels.
This calculation only determines physical coverage. It does not account for the panel’s thickness, absorption performance, installation method or placement.
Allow for offcuts, pattern matching and areas affected by switches, corners or architectural features when calculating modular or cut-to-size systems.
5. Determine the Appropriate Treatment Area
The correct treatment area depends on the room rather than a universal percentage.
Important factors include:
• Room purpose
• Occupancy
• Ceiling height
• Amount of glazing
• Existing ceiling treatment
• Panel absorption performance
• Required speech clarity
• Noise source locations
• Desired visual outcome
• Budget
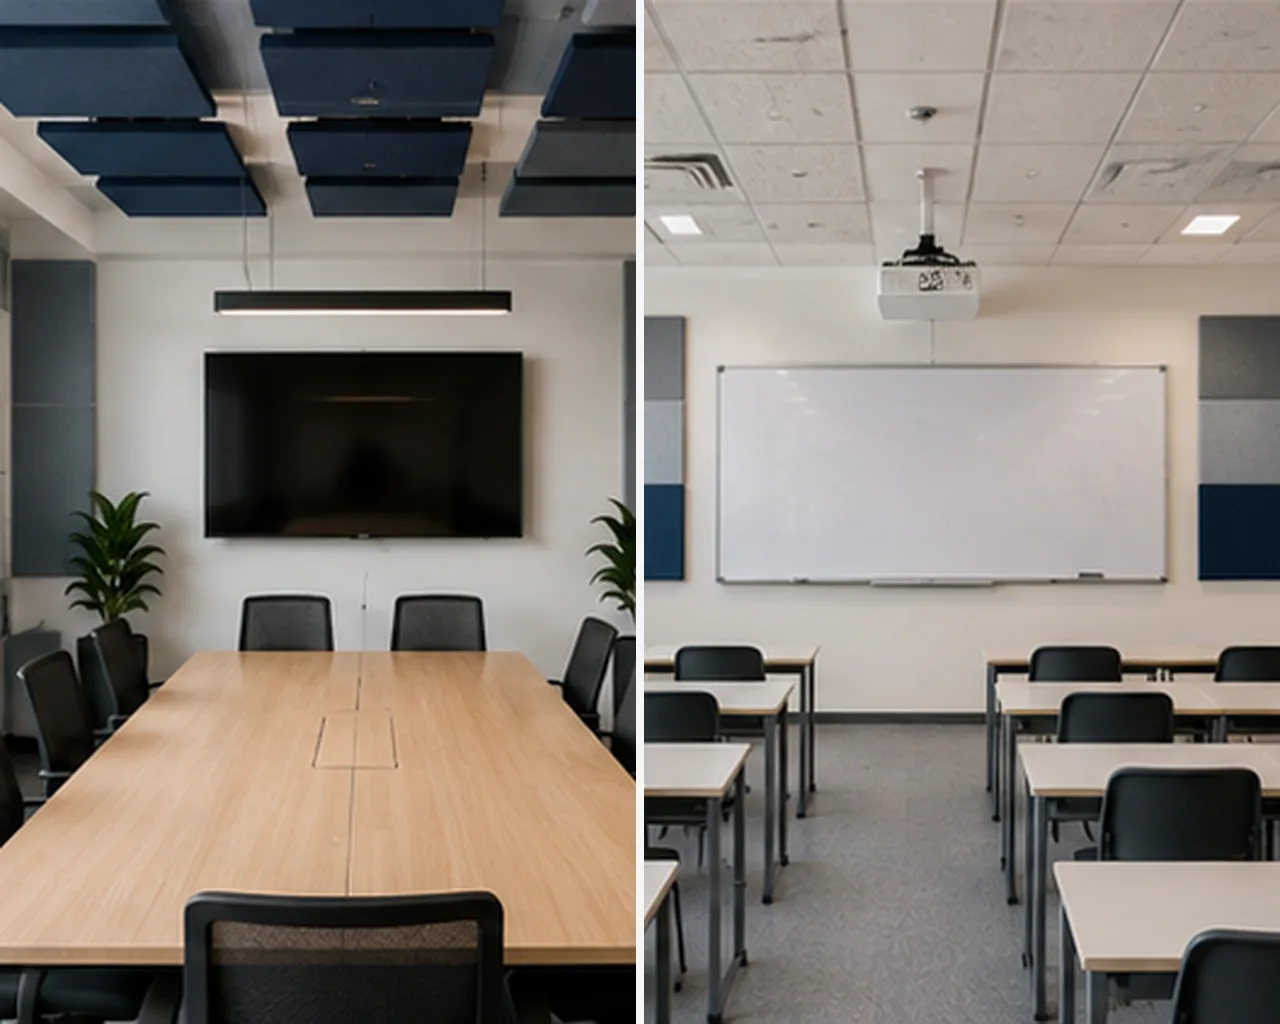
A meeting room may only require treatment on selected opposing walls. A large classroom may benefit from both wall and ceiling absorption. An open-plan office may require several treatment types distributed across a much larger area.
Avoid selecting an arbitrary coverage percentage without considering the chosen product and the room’s acoustic conditions.
For preliminary budgeting:
- Identify the largest reflective surfaces.
- Select the surfaces that can practically receive treatment.
- Estimate the area available on each surface.
- Compare that area with the selected panel dimensions.
- Review the expected acoustic performance of the proposed product.
- Adjust the quantity based on room use and placement.
Large or acoustically demanding spaces may require a formal assessment rather than a simple area calculation.
6. Match the Quantity to the Room Type
Different rooms have different acoustic priorities.
Small Meeting Rooms
Small meeting rooms often experience strong reflections because speakers sit close to parallel walls and glass partitions.
The priority is usually speech clarity rather than general noise reduction.
Treatment may include:
• One substantial acoustic feature wall
• Panels on two adjacent walls
• A wall-and-ceiling combination
• Panels positioned behind or beside participants
• Additional treatment opposite large glass surfaces
Avoid placing every panel on one small section of wall purely for decoration. Distributed treatment can often manage reflections more evenly.
Boardrooms
Boardrooms contain longer tables, more participants and greater viewing distances.
Consider:
• Wall panels beside the table
• Panels behind participants
• Ceiling rafts or baffles above the meeting area
• Treatment near video-conferencing microphones
• Reflections from televisions and glazed partitions
Audio quality should be tested during an actual video call, not only by standing in the empty room.
Open-Plan Offices
An open-plan office is unlikely to be treated successfully with one feature wall alone.
Treatment may need to include:
• Distributed wall panels
• Ceiling baffles or suspended panels
• Desk-mounted acoustic screens
• Freestanding acoustic dividers
• Breakout-area treatment
• Panels near collaborative zones
• Separation between concentrated and conversational work
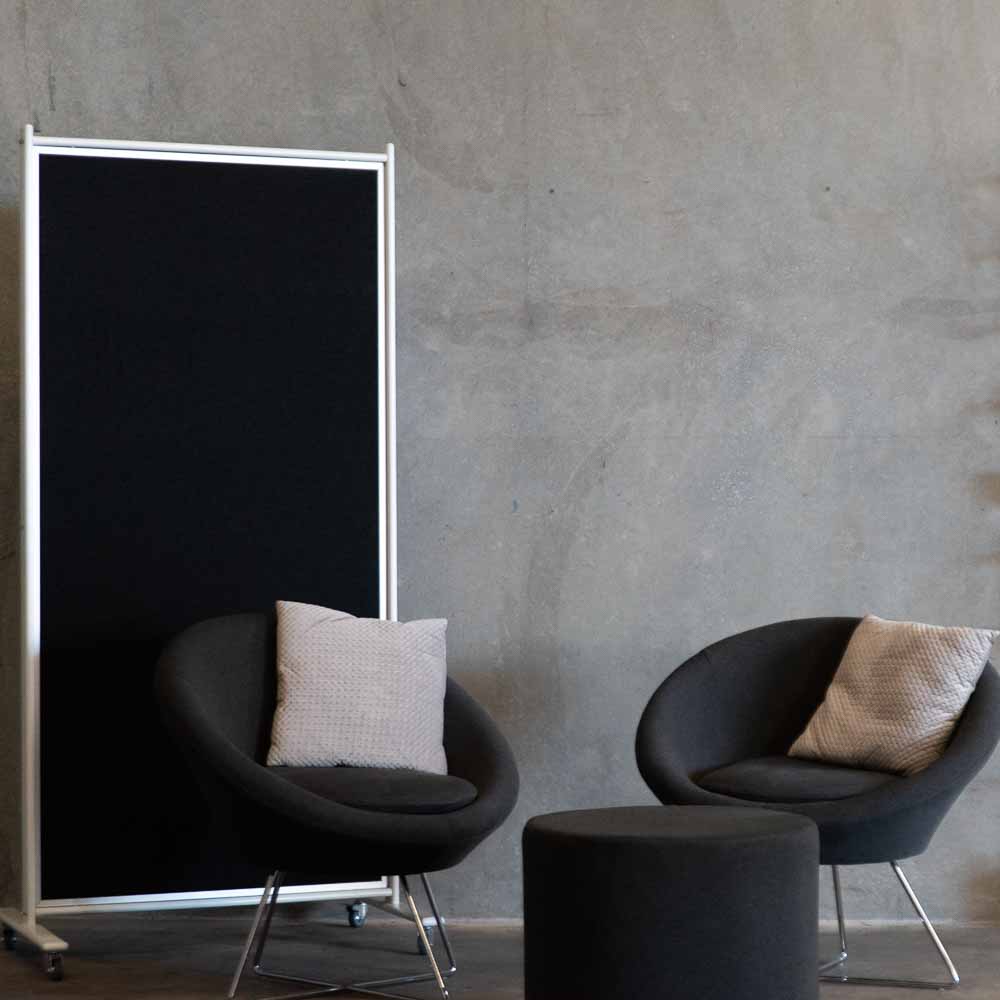
The acoustic screen range can complement wall and ceiling treatment where local privacy and workstation separation are also required.
Classrooms
Classrooms require clear speech across several seating positions.
Consider:
• Teaching-wall reflections
• Rear-wall reflections
• Hard ceilings
• Student noise
• Room volume
• Existing carpet and furnishings
• Viewing and installation height
• Safe access for installation
Wall panels can provide targeted treatment, while ceiling products may distribute absorption across a larger room.
Hospitality Venues
Restaurants and cafés often combine high occupancy with hard floors, windows, tables and ceilings.
The treatment may need to be distributed through:
• Wall features
• Ceiling baffles
• Suspended rafts
• Upholstered areas
• Decorative acoustic panels
• Screening between dining zones
Coverage should be assessed while the venue is operating or under realistic occupancy conditions where possible.
7. Compare Wall and Ceiling Acoustic Treatment
The required panel quantity also depends on where treatment is installed.
Wall Acoustic Panels
Wall panels are suitable where clear wall space is available and sound reflects between vertical surfaces.
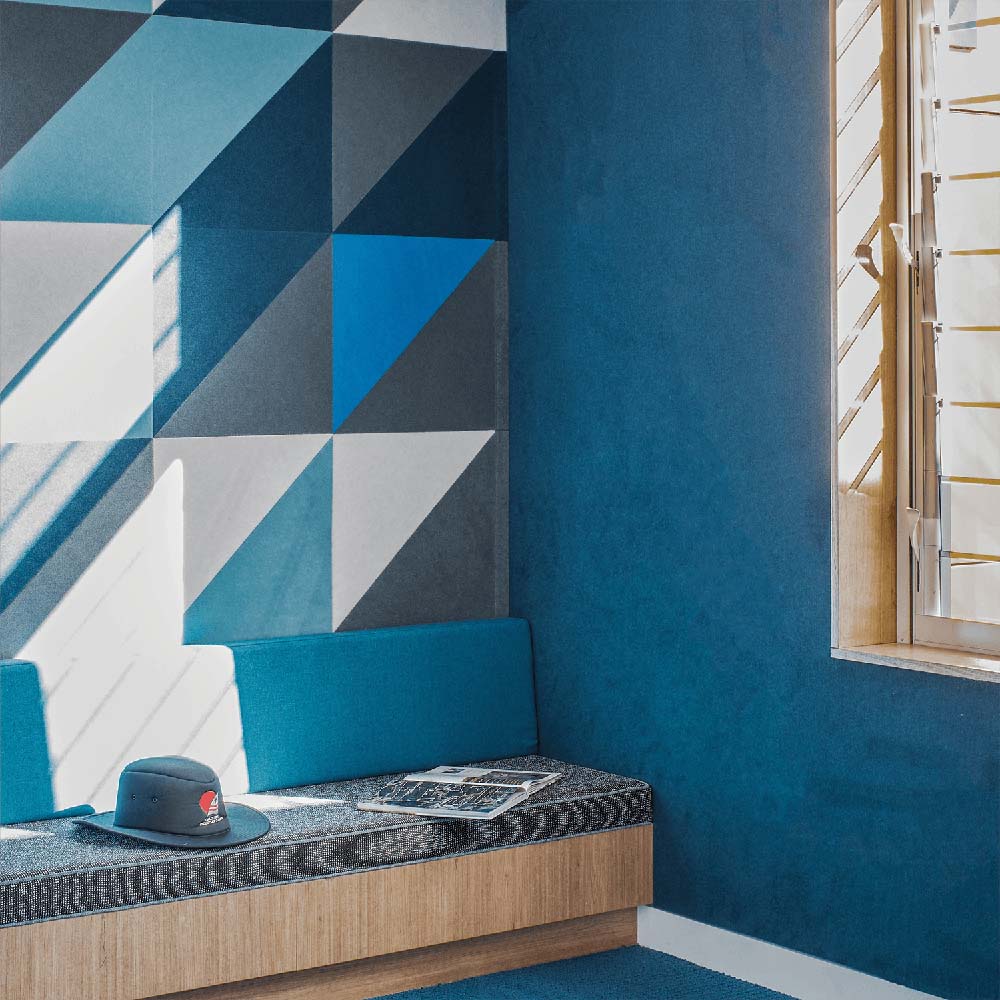
The wall acoustic panel range includes flat, decorative, modular and fabric-based options for commercial and education spaces.
Wall panels may be appropriate when:
• The room has large bare walls
• Installation access is straightforward
• A feature wall is desired
• Panels need to remain accessible
• The ceiling cannot be altered
• Pinnable functionality is useful
Ceiling Acoustic Panels
Ceiling treatment can be effective where wall space is occupied by windows, storage, presentation equipment or other fixtures.
The available ceiling acoustic panels include suspended panels, baffles, rafts and ceiling tiles.
Ceiling products may suit:
• Open-plan offices
• Classrooms
• High-ceiling spaces
• Hospitality venues
• Large meeting rooms
• Areas with extensive glazing
• Rooms requiring distributed overhead absorption
Suspended products can expose more than one face to sound, but their performance and spacing depend on the product design and installation.
Combined Treatment
A combination of walls and ceilings can provide more balanced absorption than concentrating the full quantity on one surface.
Combined treatment is particularly relevant where:
• The room is large
• Several sound sources operate simultaneously
• Wall space is limited
• The ceiling is highly reflective
• The room contains extensive glass
• Speech clarity is important throughout the space
8. Consider Panel Thickness and Acoustic Performance
Panel count alone does not determine the result.
Two products with the same face dimensions may perform differently because of:
• Material density
• Thickness
• Mounting method
• Air gaps
• Surface treatment
• Panel shape
• Tested frequency range
• Overall construction
A thin decorative panel may provide useful absorption but may not perform identically to a thicker high-performance panel.
Review the individual product data before comparing quantities. Where acoustic ratings are available, they should be assessed in conjunction with:
• The test method
• Panel thickness
• Installation configuration
• Mounting surface
• Frequency performance
• Intended application
Do not compare products using a single rating without confirming that the test conditions and installation methods are relevant to the project.
A smaller quantity of appropriately specified panels may outperform a larger quantity of products selected only by appearance or price.
9. Distribute Panels Across the Room
Correct distribution can be more important than adding several panels to one location.
Sound reflects between opposing hard surfaces. Treating only one corner may leave the main reflection paths unchanged.
Potential locations include:
• Opposite glazed walls
• Behind meeting participants
• Beside collaborative tables
• On the rear classroom wall
• At seated and standing voice height
• Above open work areas
• Around breakout zones
• Near high-activity areas
• Across parallel walls
• Above video-conferencing tables
Avoid placing all panels:
• Behind cabinets
• Beneath desks
• In areas blocked by furniture
• At inaccessible heights without a clear reason
• In one visually convenient cluster
• Where they conflict with ventilation or services
The guide to acoustic panel placement provides additional guidance on distributing panels across walls and ceilings.
10. Use Modular Treatment Where the Final Quantity Is Uncertain
Not every project needs to install the maximum estimated quantity at once.
A staged approach can be useful where:
• The room is already occupied
• Budget is limited
• The acoustic problem is moderate
• The final furniture layout may change
• Self-adhesive or modular panels are suitable
• The space can be retested after installation
A practical process is:
- Install the first treatment stage on the strongest reflection points.
- Test the room during normal use.
- Collect feedback from regular occupants.
- Check whether speech clarity and reverberation have improved.
- Add further wall, ceiling or screen treatment where required.
The peel and stick acoustic panel range may suit compatible walls where a modular feature layout and straightforward installation are preferred.
Confirm surface compatibility before installation. Self-adhesive systems may use strong permanent adhesives and should not automatically be assumed to remove without affecting the wall finish.
11. Account for Panel Spacing and Design Gaps
A decorative installation may include gaps between panels rather than continuous coverage.
When calculating quantities, distinguish between:
• Total feature-wall dimensions
• Actual panel face area
• Gaps between panels
• Borders around the layout
• Cut-outs around switches
• Offcuts
• Pattern repeats
• Damaged or spare panels
For example, a feature covering a 4 × 2.4 metre wall does not necessarily provide 9.6 square metres of acoustic material. If substantial gaps remain between panels, the actual absorptive area will be lower.
Create a scaled elevation showing:
• Panel dimensions
• Horizontal gaps
• Vertical gaps
• Wall boundaries
• Furniture
• Power outlets
• Screens and equipment
• Door swings
• Installation heights
This makes the required quantity easier to calculate and helps prevent uneven spacing during installation.
12. Know When a Professional Assessment Is Appropriate
A basic quantity calculation can assist with preliminary planning, but some rooms require more detailed assessment.
Consider specialist input when:
• The room is large or unusually shaped
• Speech clarity is operationally critical
• The project must satisfy specified acoustic criteria
• The ceiling is very high
• Several connected spaces are involved
• The noise source is unclear
• Sound travels between rooms
• Video-conferencing quality remains poor
• The project includes substantial wall and ceiling treatment
• Architectural documentation is required
• A significant commercial budget is involved
A professional assessment may consider reverberation time, room geometry, frequency response, occupancy and the acoustic performance of existing materials.
This helps avoid both undertreatment and unnecessary expenditure.
13. Avoid Common Quantity and Coverage Mistakes
Buying by Room Area Alone
Floor area does not account for ceiling height, glazing, occupancy or existing finishes.
Treating Every Room With the Same Percentage
Rooms with similar dimensions may have different acoustic requirements.
Counting Panels Without Calculating Their Area
Ten small tiles do not provide the same coverage as ten full-size panels.
Ignoring Product Performance
Panel thickness, material and mounting configuration affect the result.
Concentrating Every Panel on One Wall
A feature wall may improve one reflection path while leaving others untreated.
Confusing Absorption With Soundproofing
Acoustic panels manage sound within a room. They do not automatically stop sound passing through the building structure.
Forgetting Ceiling Treatment
Rooms with limited wall space or high ceilings may need overhead absorption.
Installing Panels Behind Furniture
Blocked panels may contribute less than panels exposed to the room.
Ignoring Normal Occupancy
Assess the room under realistic operating conditions rather than only when empty.
Failing to Plan for Expansion
A modular layout should allow additional panels to be installed without making the design appear incomplete.
Final Acoustic Panel Quantity Checklist
Before ordering, confirm:
• The problem is echo or reverberation rather than sound transmission
• Room length, width and height have been measured
• Wall and ceiling surfaces have been assessed
• Existing soft finishes have been recorded
• Normal occupancy is understood
• The selected panel dimensions are confirmed
• The face area of each panel has been calculated
• Product acoustic data has been reviewed
• Wall and ceiling options have been compared
• Panel locations have been mapped
• Gaps and offcuts are included
• Furniture and equipment have been considered
• Installation access is available
• The treatment can be expanded if required
• Specialist assessment has been considered for complex rooms
Conclusion
The number of acoustic panels required depends on the room’s size, volume, hard surfaces, activity level and the acoustic performance of the selected product.
Begin by identifying the noise problem, measuring the available surfaces and calculating the area covered by each panel. Then distribute the treatment across the walls, ceiling and local work areas rather than selecting a quantity in isolation.
Small rooms may respond to targeted treatment, while classrooms, open-plan offices and hospitality spaces often require a more coordinated combination of wall panels, ceiling products and acoustic screens. A staged installation can also allow the result to be tested before further treatment is added.ne.
For exclusive educator discounts, visit our Education Hub!