
For a school replacing whiteboards across several rooms, start with a room-by-room survey before selecting quantities. A consistent writing surface can be useful, while bFor a school replacing whiteboards across several rooms, start with a room-by-room survey before selecting quantities. A consistent writing surface can be useful, while board sizes, wall conditions and installation requirements may differ throughout the campus.
Once porcelain is the preferred surface, the next decision is how to turn that choice into an accurate order and a manageable installation. Ordering one size for every room can overlook teaching layouts, viewing distances and delivery access.
This checklist focuses on that replacement project. If the surface choice is still open, use the guide to whiteboard materials before preparing the room schedule.
Record Why Each Board Needs Replacing
Inspect each existing board and describe the actual problem. Is the writing difficult to erase after the approved cleaning routine? Is the surface damaged, the frame loose, or the board simply too small for the lesson?
Those are different reasons for replacement. A cleaning problem needs investigation before it is carried into a new installation through the same markers, erasers or cleaning method.
Ask teachers how they use the board. Some need a large uninterrupted writing area. Others divide the surface between instructions, worked examples and material that remains visible for the whole lesson.
Photograph each board and its surrounding wall. Record the room number, existing board dimensions, proposed change and person approving it. A clear reason for every replacement helps prioritise the project if it needs to proceed in stages.
Standardise the Specification, Then Allow Room Exceptions
Write a common specification for the features the school wants to repeat: surface, frame style, tray arrangement and the accessories used with it.
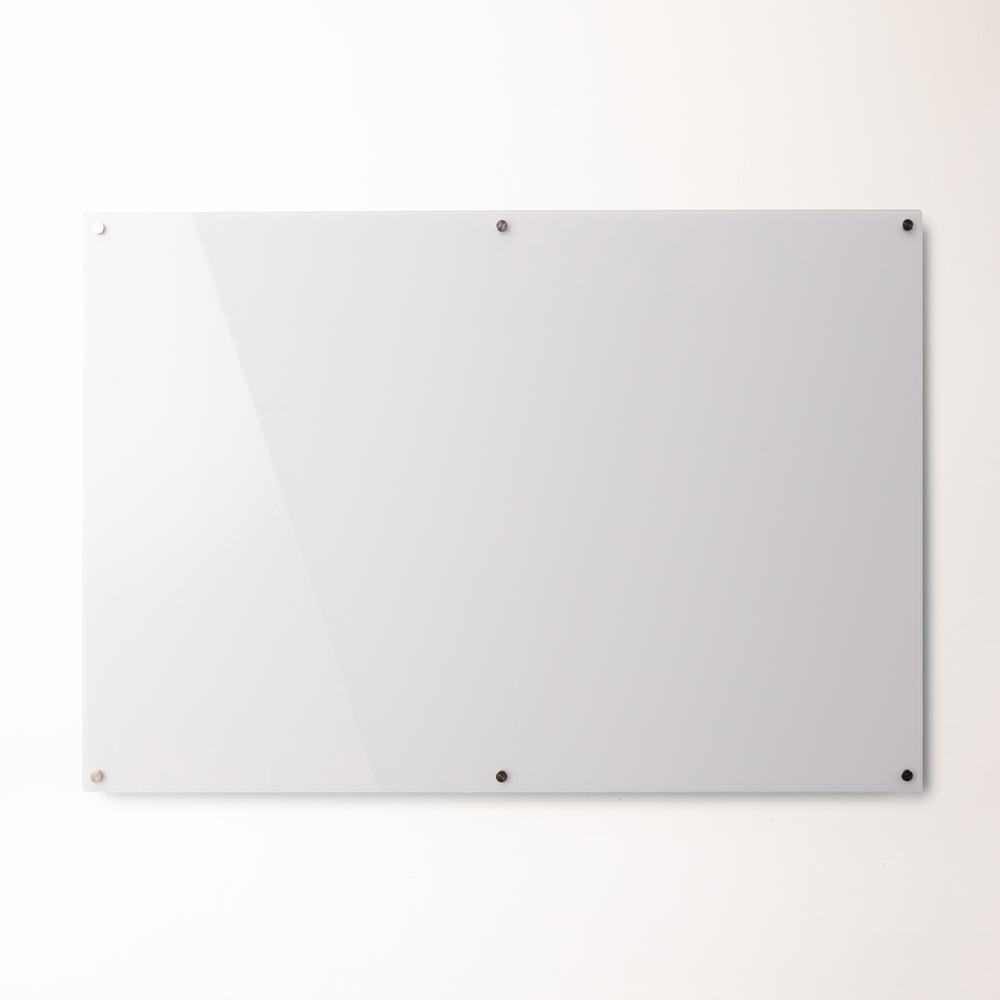
The Porcelain Whiteboard uses a magnetic porcelain surface with an aluminium frame and an included pen tray. The current listing identifies it for heavy-duty use in schools, universities and meeting rooms.
Those features provide a starting point, but they do not determine the right board size or position for every classroom.
Create a separate line for each room. Note any exceptions, such as a narrow wall, an adjacent interactive display or a teaching position that differs from the rest of the school.
Where standard dimensions cannot meet the agreed layout, ask whether a custom configuration is appropriate. Confirm the proposed finished dimensions and approval process before including it in the order.
Test Readability From Actual Seating Positions
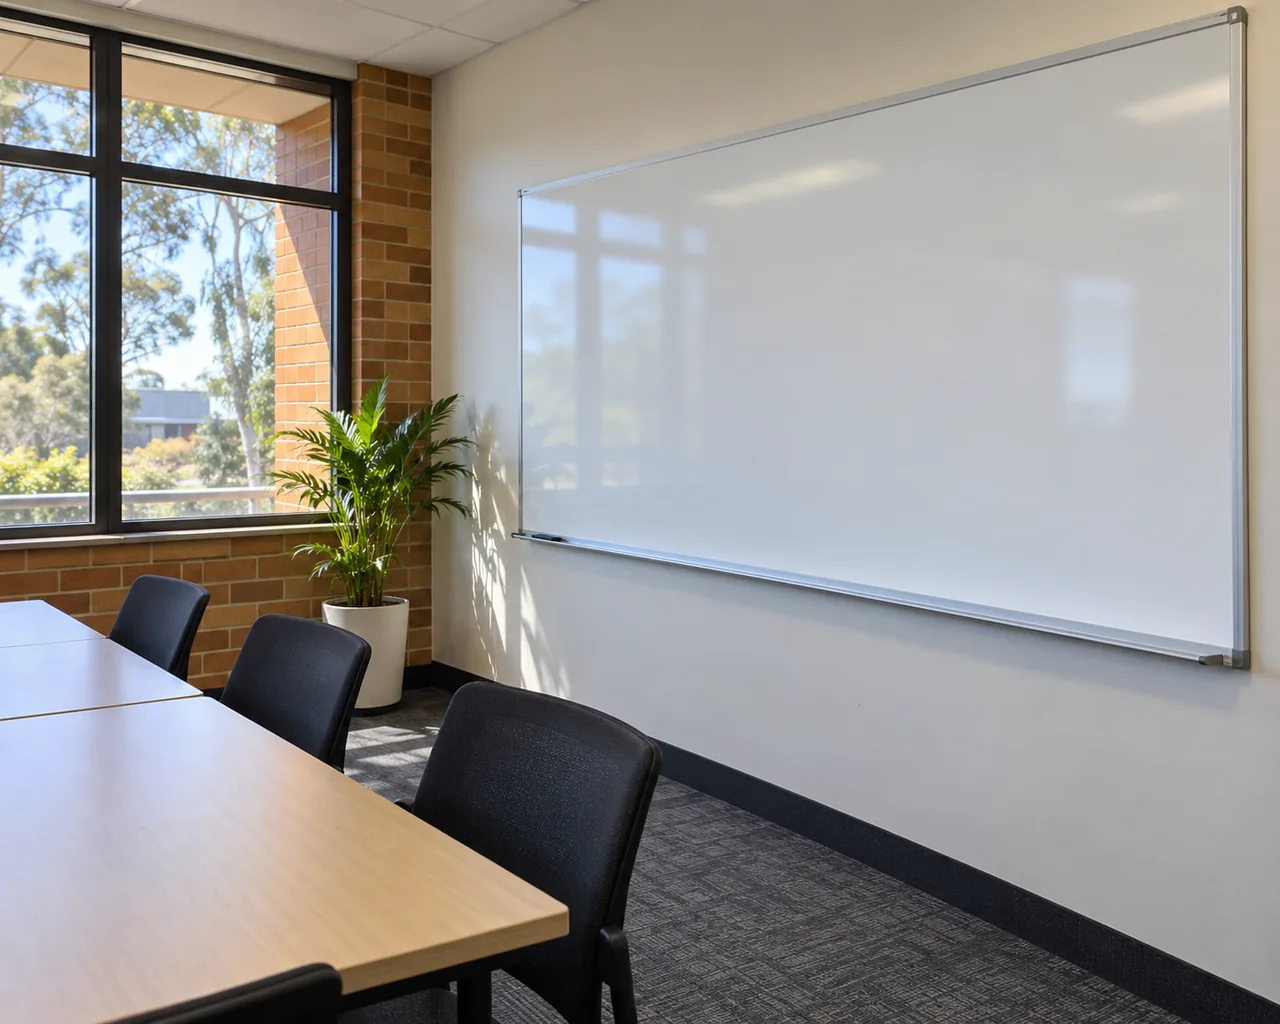
Assess the board with the room arranged as it will be used. Check the view from the rear seats and from positions near the sides.
Consider how much space the teacher needs for a complete explanation. The board should support the intended lesson without forcing constant erasing or very small writing.
Check daylight and artificial lighting at different times where practical. A surface description alone does not establish visibility in a particular room. Windows, luminaires and the viewing angle all affect the experience.
Agree the mounting position with the people who will write on the board. Balance usable reach with visibility for students, including people with different access needs.
If boards will sit beside displays or other teaching resources, review the whole wall together so the new installation does not obscure equipment or controls.
Inspect the Wall Before Reusing Old Fixing Positions
A replacement board may have a different frame, fixing pattern or weight from the old one.
Have a competent installer confirm the wall construction, suitable fixing method and proposed mounting positions for the selected board. Do not assume the previous holes or brackets can be reused.
Photographs should show the surrounding wall and any visible damage. Establish who will remove the old board, make good redundant holes and complete any necessary wall preparation.
Check for services and other site constraints before installation work begins, following the school’s procedures. Keep the procurement brief clear about what is known and what the installer still needs to inspect.
Basic hardware supplied with a product should not be treated as proof that it suits every wall.
Check the Delivery Route for the Largest Board
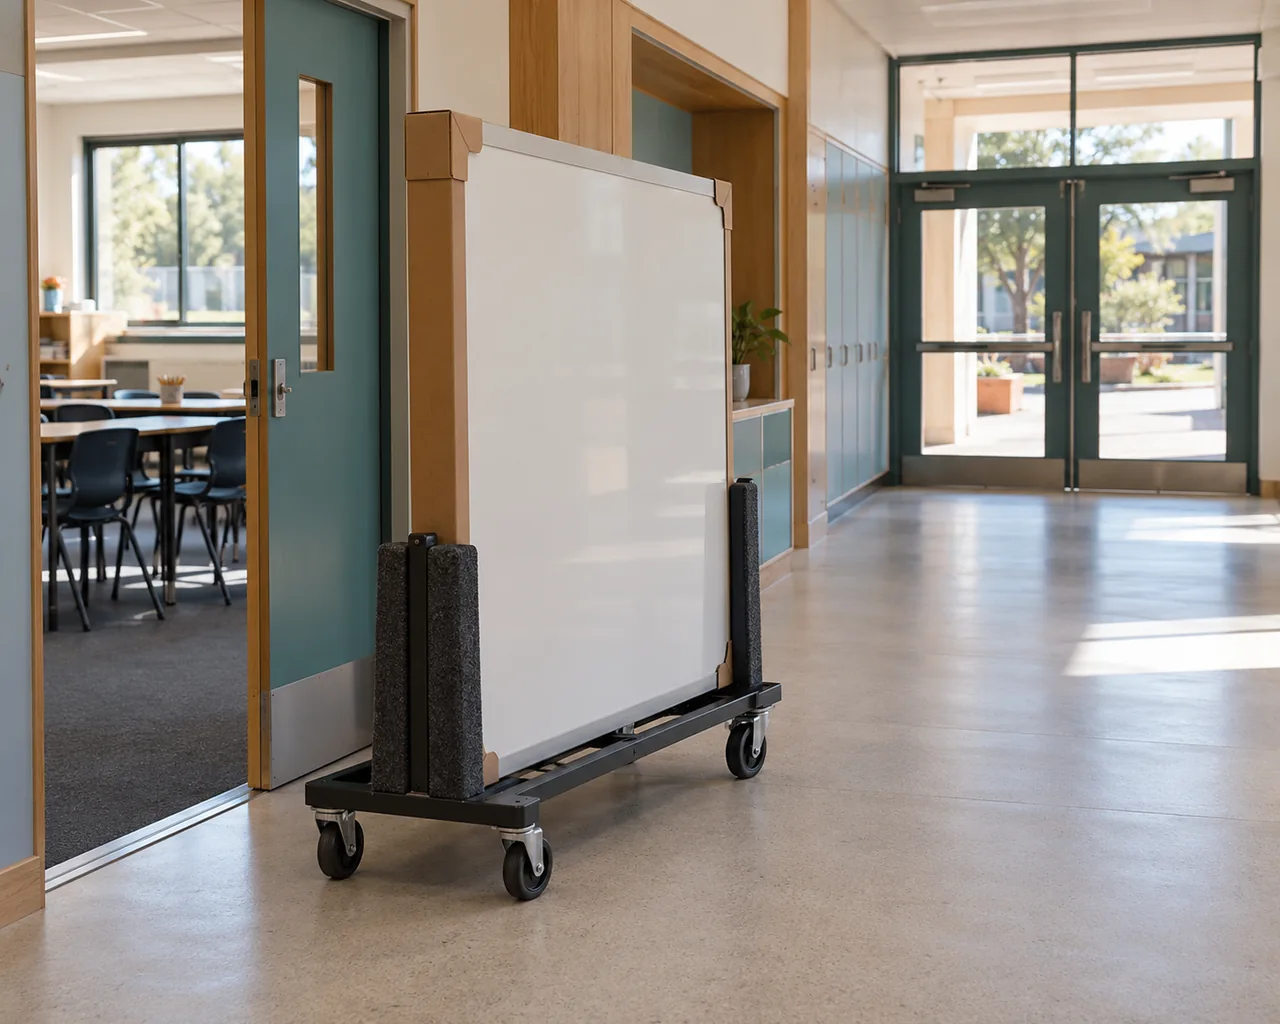
Plan access using the largest packaged item in the order, rather than the smallest board or its writing area alone.
Record the receiving point, door openings, corridor turns, stairs and lift dimensions where relevant. Ask for packaged dimensions if they are needed to assess the route.
Whiteboards & Pinboards’ large-board delivery guidance is a useful starting point for checking access before an order is finalised. Confirm the arrangement for your particular site.
Nominate a receiving contact and a suitable inspection area. If installation happens later, agree how boards will be stored and protected using the supplier’s handling guidance.
Include any school delivery restrictions and the period when classrooms will be available. A holiday installation still needs confirmed access and someone authorised to receive the order.
Compare Quotes Against the Same Room Schedule
Issue the same room schedule to everyone pricing the work. It should identify:
- Room number and board quantity.
- Selected model, surface and finished dimensions.
- Frame, tray and accessory requirements.
- Wall information and proposed mounting position.
- Delivery route and receiving arrangements.
- Removal, wall preparation and installation responsibilities.
Ask quotations to distinguish products, freight, installation and any additional services. Confirm the applicable warranty terms for the exact product without assuming they cover every component or type of damage.
If the rollout is staged, identify which rooms form each stage. Confirm lead times and site dates for the actual order rather than relying on a general dispatch statement.
Hand Over a Consistent Care Routine
After installation, inspect each board with the room schedule. Check the supplied configuration, positioning, fixings and tray, then report any issues before the project is closed.
Provide teachers and cleaners with the care instructions for the selected surface. Agree which markers, erasers and cleaning products will be used, and make those supplies available.
Record the model and installation details so future replacement orders can be assessed against the same specification.
To prepare a coordinated order, request a school whiteboard quote from Whiteboards & Pinboards. Attach the room schedule, photographs and access information so board selection and delivery can be reviewed together.