
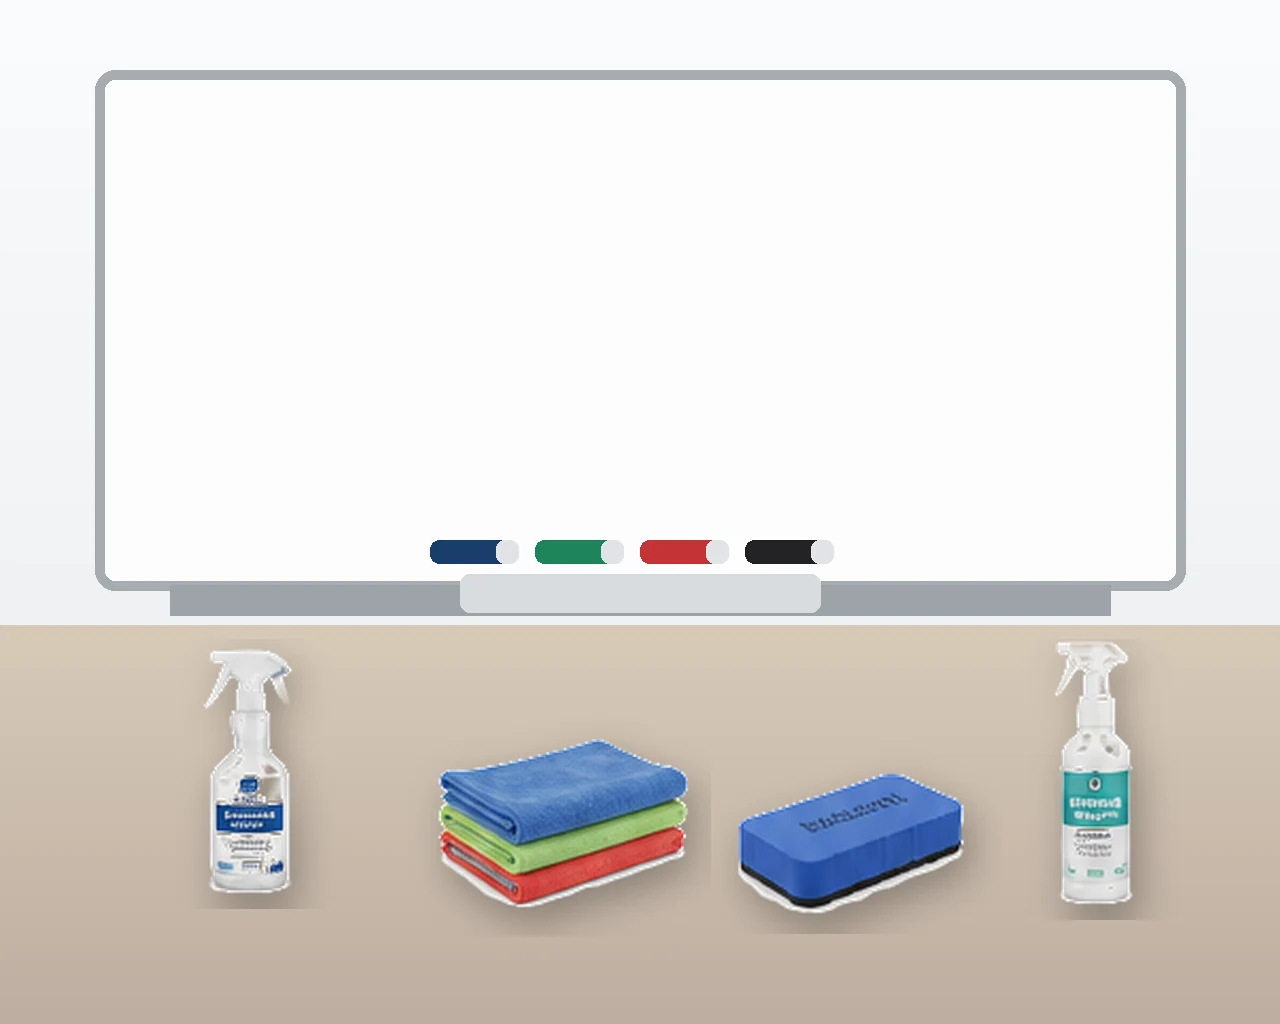
A whiteboard eraser, microfibre cloth and cleaning spray perform different jobs. An eraser removes fresh dry-erase marker during normal use. A microfibre cloth lifts loose residue and supports more thorough wiping. Whiteboard cleaner removes built-up ink, oils, dust and ghosting that dry erasing alone may leave behind.
Most offices, classrooms and training rooms need all three. The correct combination depends on how frequently the board is used, its surface material and how long writing remains in place.
For a new board or shared facility, a complete starter kit is often the simplest option. High-use environments may also need replacement erasers, additional cloths and cleaning solution stored close to each board.
1. Understand the Difference Between Erasing and Cleaning
Erasing
Erasing removes recent dry-erase marker from the writing surface during or immediately after normal use.
It is suitable for:
• Clearing meeting notes
• Removing classroom work
• Updating schedules
• Changing diagrams
• Resetting a board between training sessions
• Correcting information while writing
A whiteboard eraser is designed for speed. It allows users to remove large areas without stopping to apply liquid cleaner.
Cleaning
Cleaning removes residue that remains after ordinary erasing.
This can include:
• Faint marker shadows
• Ink pigment transferred from a dirty eraser
• Fingerprints
• Dust
• Airborne oils
• Adhesive residue
• Build-up from writing left on the board
• Marks that have become difficult to erase
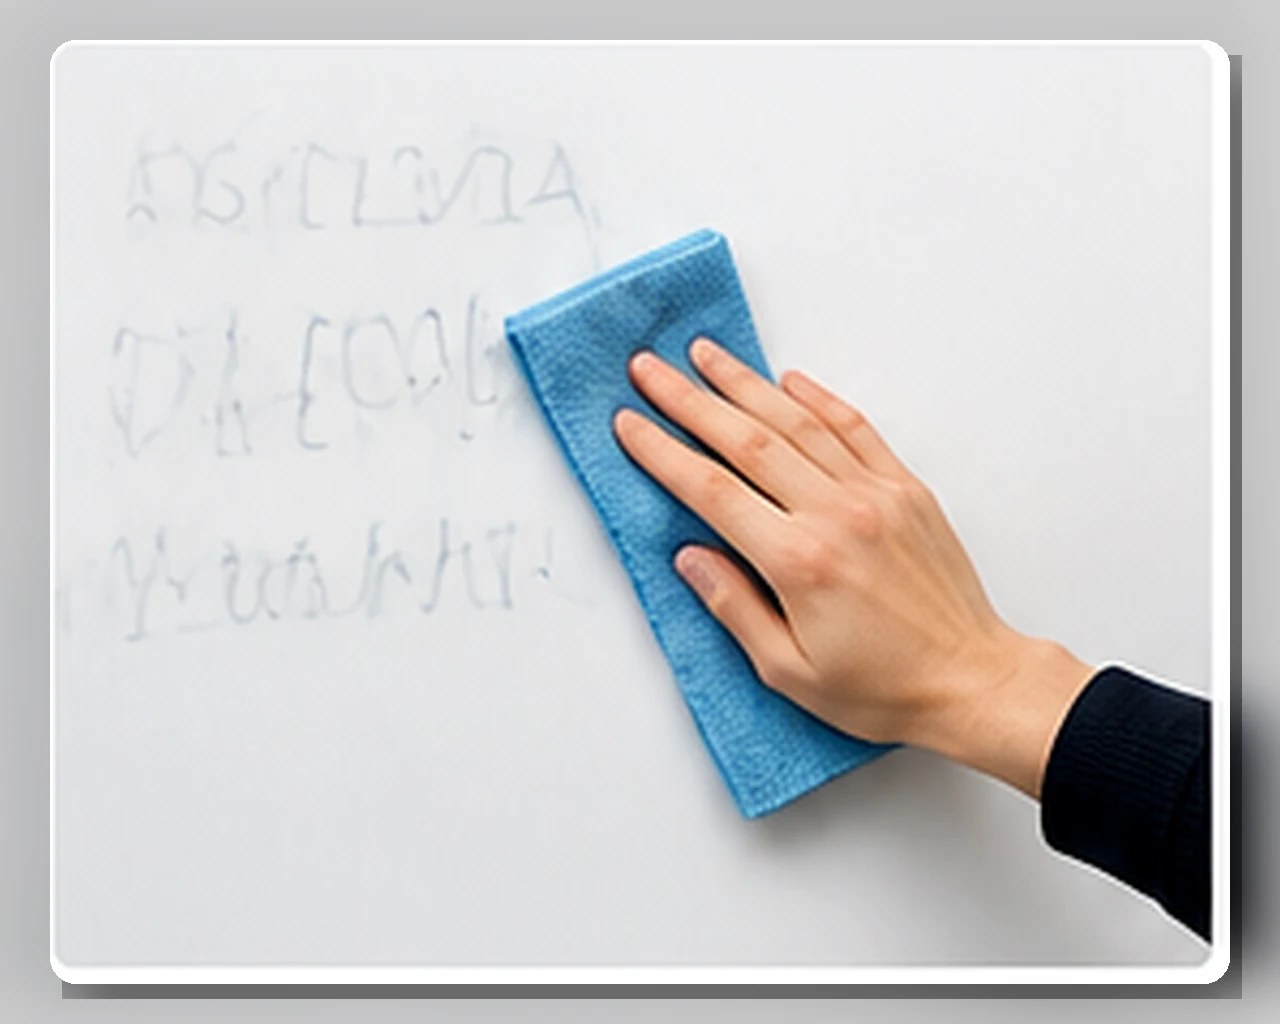
Whiteboard care instructions recommend applying a light mist of compatible cleaner to the board and wiping it with a soft, lint-free cloth until residue is removed. Regular cleaning helps prevent stubborn marks and shadowing from accumulating.
A board therefore needs routine erasing during use and periodic cleaning as part of its maintenance.
2. Use a Whiteboard Eraser for Everyday Dry Erasing
A conventional whiteboard eraser is the fastest option for removing fresh dry-erase ink.
It works best when:
• The marker is compatible with the surface
• The writing has not remained for an extended period
• The eraser pad is clean and dry
• The board is maintained regularly
• Users erase with moderate, even pressure
Whiteboard erasers are useful in:
• Meeting rooms
• Classrooms
• Training facilities
• Project spaces
• Staff rooms
• Warehouses
• Healthcare workplaces
• Home offices
Magnetic Whiteboard Erasers
A magnetic eraser can remain attached to a compatible whiteboard between uses.
This helps reduce:
• Erasers being misplaced
• Clutter on marker trays
• Time spent looking for accessories
• Users wiping boards with unsuitable materials
Confirm that the board is magnetic before relying on this feature. A magnetic eraser will not attach to every board, and glassboards may require accessories with stronger magnets.
Standard Non-Magnetic Erasers
A non-magnetic eraser can still perform effectively but needs a tray, shelf or dedicated storage point.
It may be suitable where:
• The board is non-magnetic
• The eraser remains inside a presentation kit
• The board has a generous pen tray
• A magnetic accessory could interfere with the layout
• The eraser is shared between several surfaces
The quality and cleanliness of the wiping pad matter more than whether the eraser is magnetic.
3. Replace or Clean Dirty Erasers Before They Spread Residue
An eraser gradually collects marker pigment.
Once the pad becomes saturated, it can:
• Smear ink across the board
• Leave grey or coloured residue
• Make writing appear ghosted
• Require greater pressure
• Transfer old marker colours onto new areas
• Reduce the effectiveness of regular cleaning
Whiteboards and Pinboards’ maintenance guidance notes that pigment build-up can cause an eraser to transfer residue back onto the whiteboard rather than cleaning it properly. It recommends replacing erasers regularly and spraying cleaner onto the board rather than saturating the eraser or cloth.
Inspect shared erasers routinely.
Replace the eraser or pad when:
• The wiping face remains heavily discoloured
• Ink is being redistributed
• The pad has become hard or uneven
• The eraser leaves streaks
• The surface is damaged
• The magnetic component no longer holds securely
Where replacement pads are available, they may be more economical than replacing the entire eraser body.
4. Use a Microfibre Cloth for Residue and Detailed Cleaning
A microfibre cloth provides more controlled cleaning than a standard eraser.
It is useful for:
• Removing fine marker residue
• Wiping corners and board edges
• Cleaning around printed sections
• Polishing the surface after cleaner is applied
• Removing fingerprints from glassboards
• Drying the board after cleaning
• Cleaning marker trays and frames
Microfibre material is generally softer than paper towel and many general-purpose cloths. This makes it suitable for regular board maintenance when used with light pressure.
Keep Separate Cloths for Different Tasks
Where possible, use:
• One cloth for applying and removing whiteboard cleaner
• One clean, dry cloth for final wiping
• A separate cloth for frames and marker trays
Using the same dirty cloth repeatedly can transfer ink and grime back onto the board.
Wash and Store Cloths Correctly
Reusable cloths should be:
• Washed before they become heavily saturated
• Allowed to dry fully
• Stored away from dust and cleaning chemicals
• Replaced when fibres become rough or damaged
• Kept separate from cloths used on desks, floors or general surfaces
Avoid using a cloth that contains polish, grease or residue from another cleaning product.
5. Use Whiteboard Cleaner for Build-Up and Ghosting
Whiteboard cleaning spray is intended for marks that dry erasing does not remove completely.
Use cleaner when:
• Faint writing remains after erasing
• The board has developed a dull film
• Marker colours smear
• Fingerprints are visible
• The surface receives heavy daily use
• Writing has remained on the board for an extended period
• A dirty eraser has spread pigment
• The board needs periodic deep cleaning
Apply a light, even mist to the board rather than soaking the surface.
Then:
- Allow the cleaner to contact the marked area briefly.
- Wipe using a clean microfibre or lint-free cloth.
- Work across the entire affected section.
- Use a clean part of the cloth as residue lifts.
- Dry the surface before writing again.
Avoid cleaning one small spot repeatedly while leaving the surrounding board untreated. Uneven cleaning can make one area appear noticeably different from the rest of the surface.
6. Match the Cleaning Method to the Whiteboard Surface
Not every board should be maintained in exactly the same way.
Standard Commercial Whiteboards
Standard commercial surfaces generally support:
• Dry-erase markers
• Conventional whiteboard erasers
• Compatible cleaning spray
• Soft microfibre cloths
These boards benefit from frequent light cleaning because residue may become harder to remove when it is allowed to accumulate.
Porcelain Whiteboards
Porcelain surfaces are commonly selected for frequent use and generally provide strong resistance to staining and ghosting.
They still require:
• Clean erasers
• Compatible markers
• Periodic cleaner use
• Removal of ink left for long periods
• Suitable non-abrasive cloths
A durable surface does not eliminate the need for maintenance.
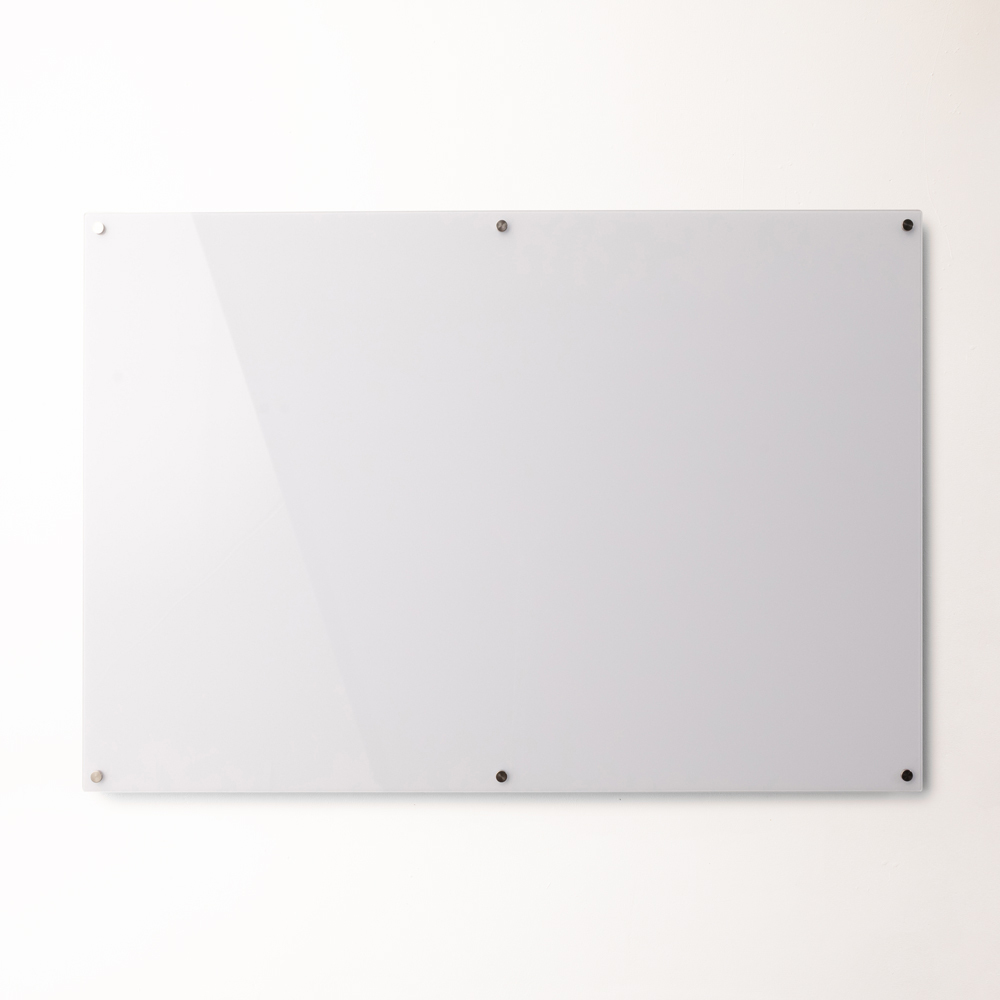
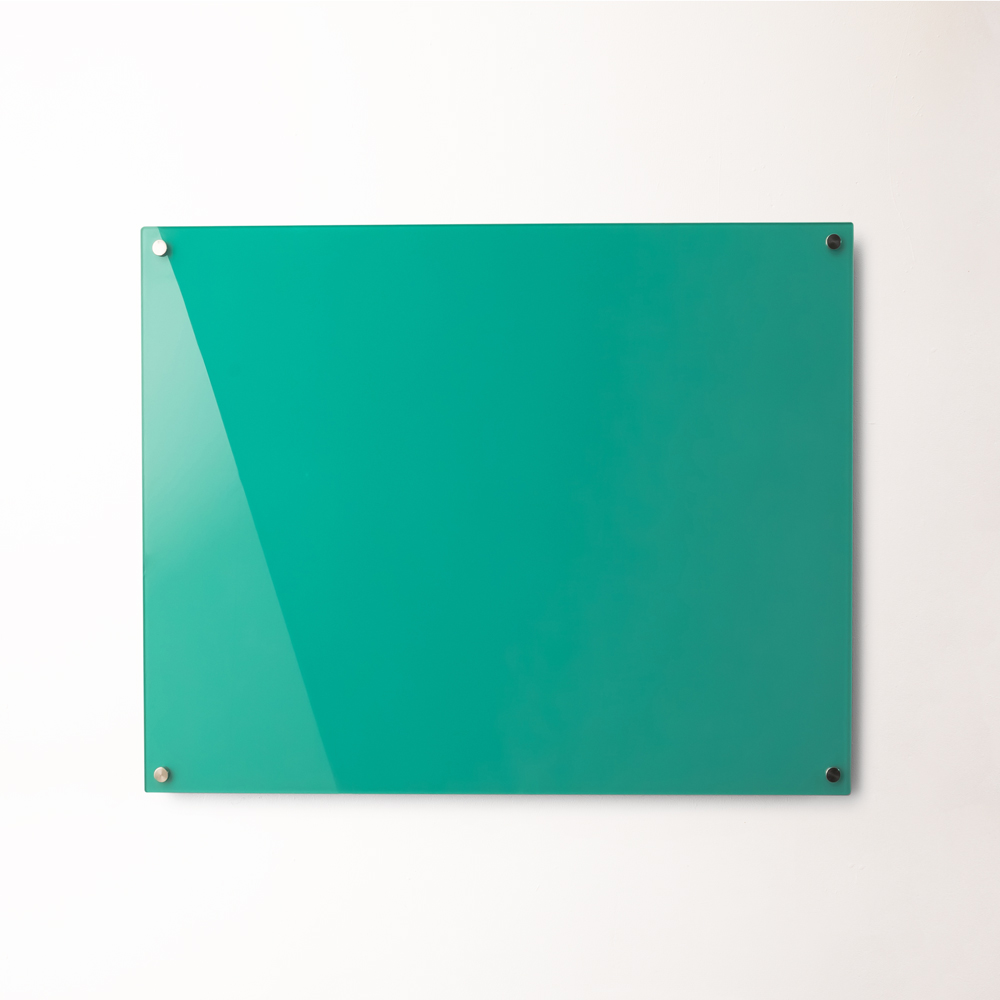
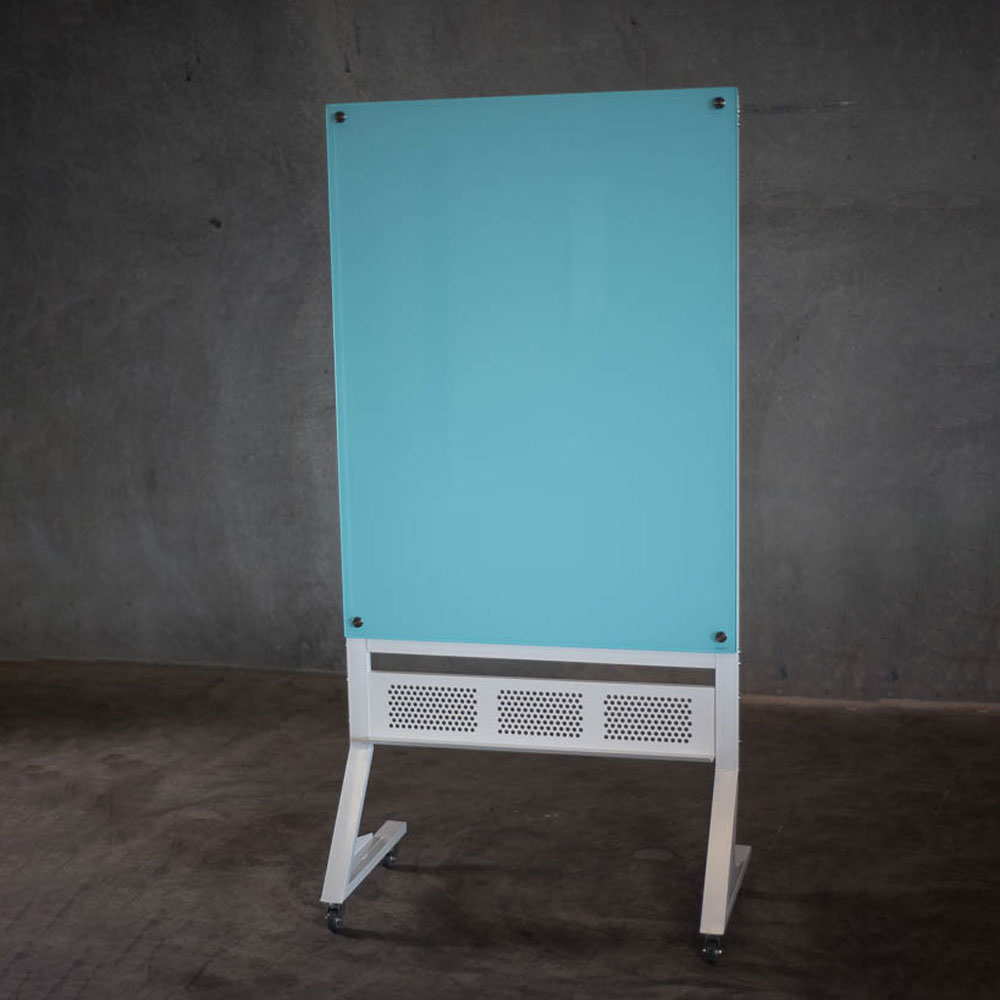
Glass Whiteboards
Glassboards often require:
• High-contrast compatible markers
• Stronger magnets designed for glass where applicable
• A soft microfibre cloth
• Cleaner suitable for the glass writing surface
• Attention to fingerprints and streaking
A clean glassboard can still appear untidy when oily fingerprints or wiping streaks remain visible under strong lighting.
Printed Whiteboards
Printed boards require additional care because the permanent layout forms part of the writing surface.
Avoid:
• Abrasive scrubbing
• Aggressive solvents across printed areas
• Sharp tools
• Unapproved adhesive removers
• Excessive pressure on lines and graphics
Check the individual care instructions before using stronger cleaning products.
The existing whiteboard material guide can help identify the type of surface being maintained.
7. Compare Erasers, Cloths and Cleaner by Task
Choose an Eraser When:
• Ink is fresh
• The board is being updated during a meeting
• Speed is important
• A large writing area needs to be cleared
• No stubborn residue remains
Choose a Microfibre Cloth When:
• Fine residue remains
• The surface needs a dry polish
• Corners and edges require attention
• Fingerprints are present
• Cleaner has already been applied
• A glassboard needs a streak-free final wipe
Choose Whiteboard Cleaner When:
• Ghosting remains after erasing
• The board has a visible film
• Marker pigment has built up
• The board receives intensive use
• Writing has remained for too long
• A periodic deep clean is due
Use All Three When:
• The board is shared
• The board is used every day
• The room hosts frequent training or teaching
• Several marker colours are used
• Writing needs to remain highly visible
• The organisation wants a consistent maintenance routine
These products complement one another rather than serving as direct substitutes.
8. Decide Between a Starter Kit and Individual Accessories
A starter kit is useful when purchasing:
• A new whiteboard
• A board for a new meeting room
• Several boards for a school
• Presentation equipment for a training facility
• A replacement set for an existing workspace
• A portable kit for a trainer or facilitator
The current Whiteboard Starter Kit includes four dry-erase markers, a magnetic eraser, 235 ml of cleaning solution and a microfibre cloth.
This provides the essential equipment needed to begin writing, erasing and maintaining a compatible board.
The starter-kit range may be the simplest purchasing route when all basic accessories are required together.
Buy Individual Accessories When:
• Existing markers remain usable
• Only the eraser needs replacement
• More cleaning solution is required
• Several cloths are needed for a large facility
• The board requires specialist glassboard markers
• The workplace uses a preferred marker type
• Replacement pads or storage accessories are required
For multi-room procurement, it may be practical to supply one complete kit per board and retain additional cleaner, markers and cloths centrally.
9. Build a Daily and Periodic Cleaning Routine
A simple routine prevents maintenance from becoming a major task.
After Each Use
• Remove temporary writing
• Return markers to storage
• Check that lids are secured
• Wipe obvious residue
• Leave the board ready for the next user
At the End of the Day
In high-use rooms:
• Clear remaining content unless it needs to stay
• Inspect the eraser
• Remove marker dust from the tray
• Wipe areas that appear smeared
• Replace empty or dried markers
Weekly or as Required
• Apply compatible whiteboard cleaner
• Wipe the complete surface
• Clean the frame and tray
• Wash or replace dirty cloths
• Inspect the eraser pad
• Check magnets and storage accessories
• Remove outdated adhesive materials
Before Important Presentations
• Test each marker
• Clean the board
• Check for glare or streaks
• Confirm the eraser is working
• Place spare markers nearby
• Ensure cleaning products are accessible but not obstructing the room
A consistent routine is especially valuable in shared rooms where no single person naturally assumes responsibility for the board.
10. Store Accessories Where Users Will Actually Return Them
Whiteboard accessories are more likely to be used correctly when they remain close to the board.
Storage options may include:
• Integrated marker trays
• Magnetic pen holders
• Magnetic erasers
• Wall-mounted accessory cups
• Meeting-room cupboards
• Labelled presentation kits
• Mobile caddies
• Trainer carry cases
Avoid storing cleaning spray loose on a narrow marker tray where it can fall.
A useful arrangement is:
• Markers and eraser on or beside the board
• Cleaner and cloth inside a nearby cupboard
• Replacement markers and cloths in central stationery storage
• One clearly labelled maintenance kit per room
The broader range of whiteboard accessories includes writing, cleaning, magnetic and storage products for different board applications.
11. Match Accessory Quantities to the Environment
Small Meeting Rooms
A small meeting room may need:
• One magnetic eraser
• Four reliable markers
• One microfibre cloth
• One bottle of cleaner stored nearby
Boardrooms
A boardroom may benefit from:
• Two erasers for a large surface
• Duplicate black and blue markers
• A clean polishing cloth
• Cleaner stored discreetly
• Magnetic storage accessories
Classrooms
Classrooms may require:
• Several marker colours
• More frequent eraser replacement
• Spare cloths
• Central cleaning supplies
• Clearly separated teacher and student markers
• A scheduled maintenance check
Training Facilities
Training facilities often need:
• One complete kit per room
• Portable backup kits
• Spare markers
• Replacement pads or erasers
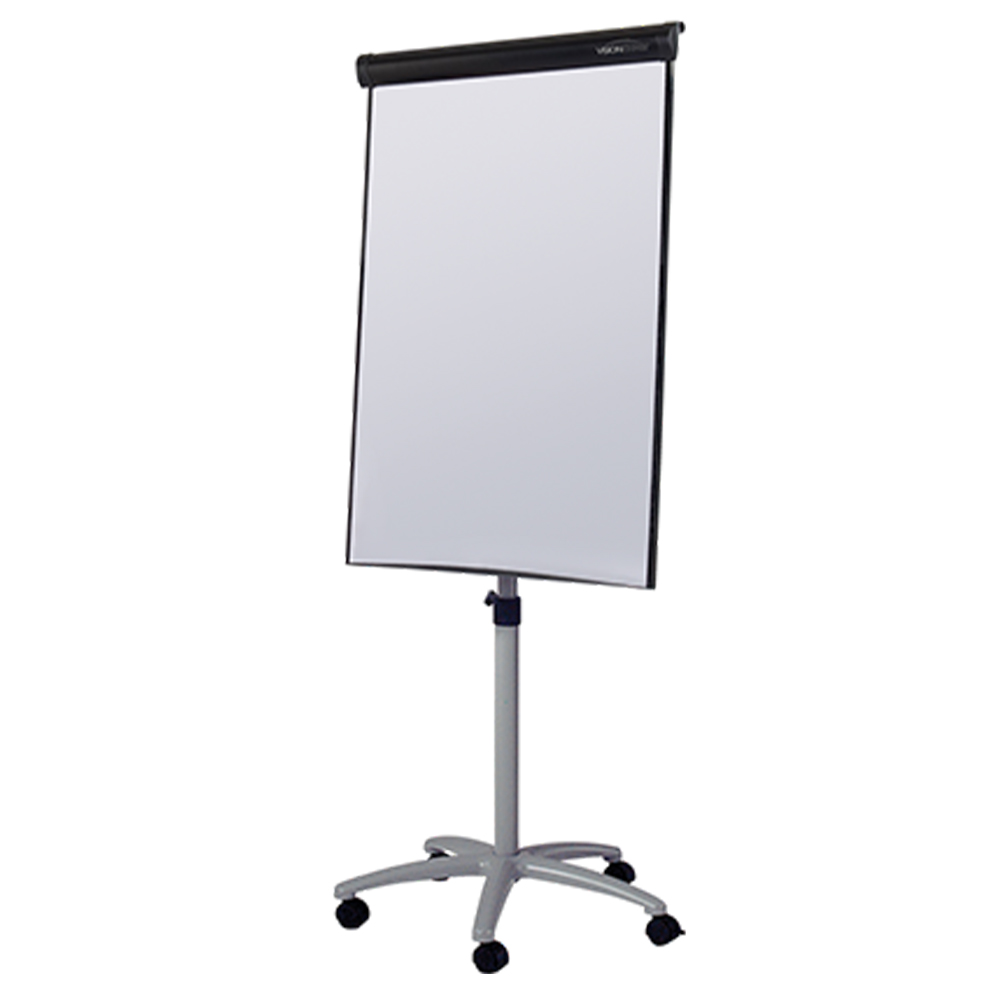
• Additional flipchart accessories
• Cleaning after every session
Large Workplaces
For multiple boards, prepare an inventory covering:
• Number of boards
• Surface types
• Required specialist accessories
• Marker replacement frequency
• Cleaner consumption
• Cloth-washing arrangements
• Responsibility for restocking
Bulk purchasing without a distribution plan can still leave individual rooms without the accessories they need.
12. Avoid Common Whiteboard Maintenance Mistakes
Using a Dirty Eraser
This spreads old pigment and makes the board appear ghosted.
Treating Cleaner as an Everyday Substitute for Erasing
Most fresh writing should be removed with an eraser. Cleaner is used for residue and periodic maintenance.
Spraying Excessive Liquid
A light mist is generally sufficient. Excess cleaner can run into frames, trays or surrounding surfaces.
Using Rough Materials
Scouring pads, abrasive sponges and damaged cloths can affect the writing surface.
Using Household Chemicals Without Checking Compatibility
Products intended for kitchens, bathrooms or floors may leave residue or damage specialised board surfaces.
Leaving Marker Ink for Extended Periods
Writing usually becomes more difficult to remove the longer it remains in place.
Cleaning Only the Most Visible Area
This can create uneven appearance and leave residue around the edges.
Storing Markers Without Their Caps
Dried markers produce weak writing and may be pressed harder against the board.
Using Permanent Marker
Keep permanent pens away from the board where possible. The guide to removing permanent marker provides steps for dealing with accidental marks.
Ignoring the Marker Tray
Old ink, dust and residue can transfer from the tray to cloths, hands and accessories.
Final Whiteboard Maintenance Kit Checklist
Before ordering, confirm:
• Whiteboard surface type
• Magnetic or non-magnetic board
• Frequency of use
• Number of users
• Required marker colours
• Compatible marker type
• Magnetic or standard eraser
• Replacement-pad availability
• Number of microfibre cloths
• Compatible cleaning solution
• Glassboard requirements
• Printed-board restrictions
• Accessory storage position
• Room-by-room quantities
• Restocking responsibility
• Cloth cleaning or replacement routine
• Periodic maintenance schedule
Conclusion
A whiteboard eraser is the correct tool for removing fresh dry-erase writing during normal use. A microfibre cloth provides more detailed residue removal and a cleaner final finish. Whiteboard spray is required when ghosting, oils or built-up pigment remain after ordinary erasing.
Shared offices, classrooms and training facilities generally benefit from keeping all three close to the board. A starter kit provides a practical starting point, while high-use rooms may require additional erasers, cloths and cleaner.
Select accessories that suit the specific writing surface, replace dirty erasers before they spread pigment and establish a simple maintenance routine. These steps help keep the board clear, easy to use and ready for each meeting, lesson or presentation..
For exclusive educator discounts, visit our Education Hub!